Showing posts with label Tutorial. Show all posts

12.06.2016

Paper-Piecing Technique + YouTube Video

 
When I said I'd been busy, I wasn't kidding!

I'm a paper hoarder.  Are you a paper hoarder.
I. Am. A. Paper. Hoarder.
I save every last morsel of paper because you never know when you're going to need it. Right?
Cue video:

Here's the card I made for this video.Now, go make some gorgeous paper with all your scraps!


 Let me know what you think!
 photo what-i-used-purp_zpsmrcq1xqk.png

Labeler Alphabet Stamps; Whisper White, Watercolor Cardstock; Regals & Subtles Designer Series Paper; Rich Razzleberry, Pool Party, Crushed Curry Classic Stampin’ Pads®; Dazzling Diamonds Glitter; Aqua Painters®, Big Shot, Sunshine Wishes Thinlits Dies, Sparkle Embossing Folder, Sponge Daubers; Tear & Tape Adhesive, Dimensionals, Fast Fuse, Fine-Tip Glue Pen
 photo FTJ-just-jane_zpsqsyj5dez.png

3.11.2014

paper flower gift box | aww

 photo 02-Feb-Blog-Hop-Button_zps62e6d63d.png
Welcome to the 2014 *March* edition of the Wednesday Artisan Blog Hop.  Check back every Wednesday to see new projects that all 10 of the Stampin' Up! Artisans have created. 

Follow Me on Pinterest
Follow the 2013 Artisan Design Team Pinterest Board:


Most of the items on this project are from the Mini Catalog?  Lurve!!

If you follow my blog you will probably notice that most of my projects have banners, grunge, crumpled paper, distressed ink, etc.  Every once in a while I'll throw in a project with clean lines but that's just like a palette cleanser for me.  You know?  How often do you see me create projects with flowers?

Not often.

I'm in a house filled with boys.  Even our dog is a boy (well, male - but you know what I'm saying.)

Sometimes I forget how to be girly.

Sometimes I forget that I can make things pretty.

When I got the March Artisan Box, 90% of it was flower stamps, flower punches, floral paper, flowers, flowers, FLOWERS.

I'll just admit that I thought,"Wow.  Ugh.  Flowerzzzzz.  Flerppp."

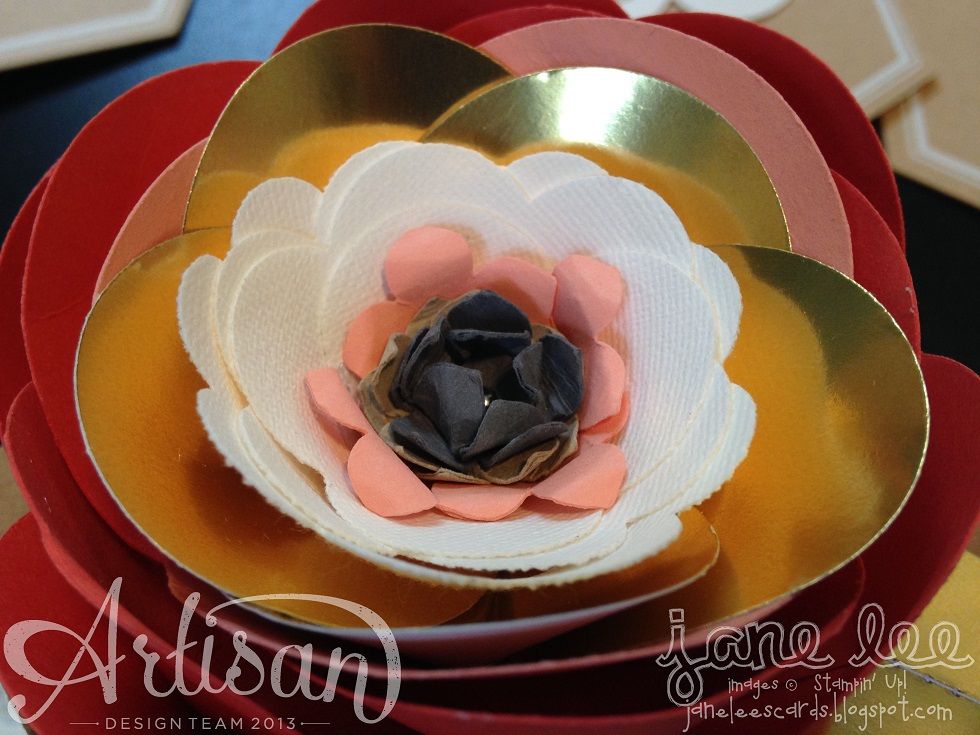
Ok, but then I used the Spiral Flower die with the Canvas Creations sheet and something magical happened and this box pretty much created itself.  What the crazy??!!  I made this project and have fallen in love with flowers.  So prepare for a month of projects mostly related to flowers or floral something.

I warned you.

Behold:
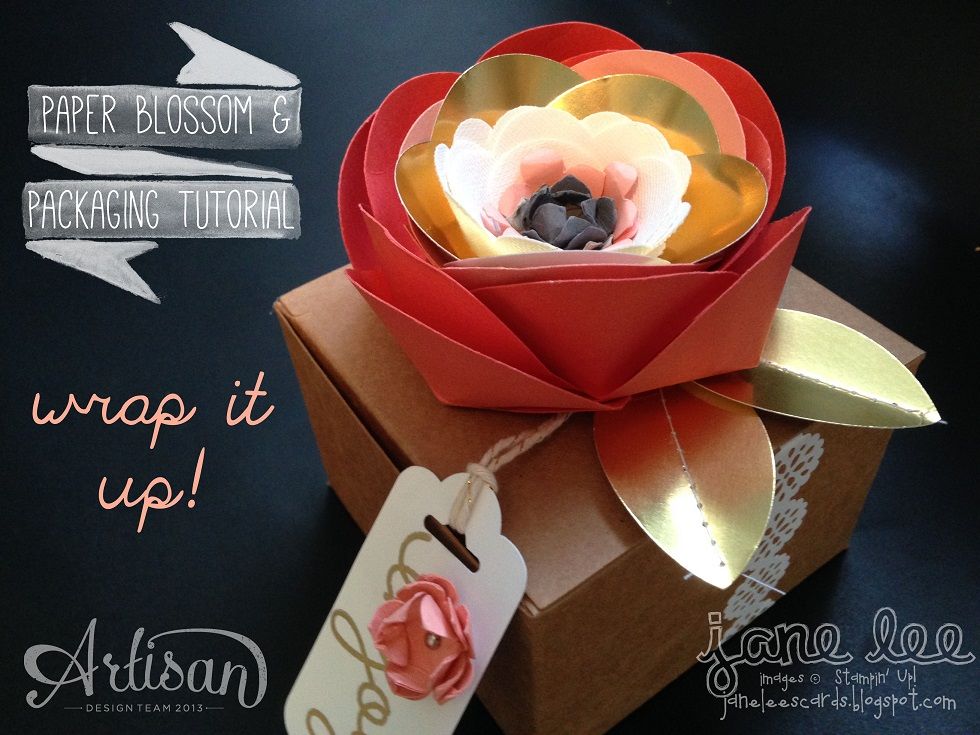
 photo 201403Artisan2acopy_zpsfed41f95.jpg
   photo 2014-03-Artisan-1-color_zps25f54a6e.png 
 photo 201403Artisan2bcopy_zpscedcb593.jpg
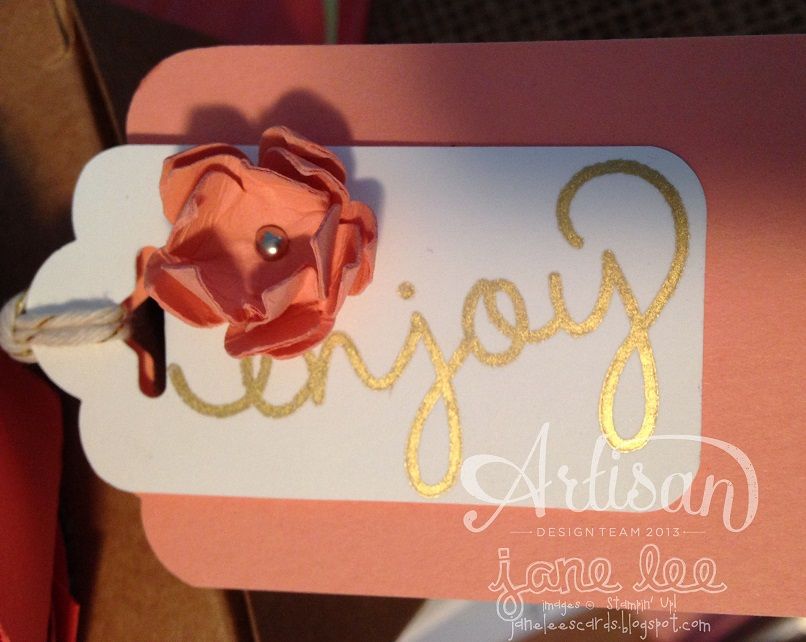
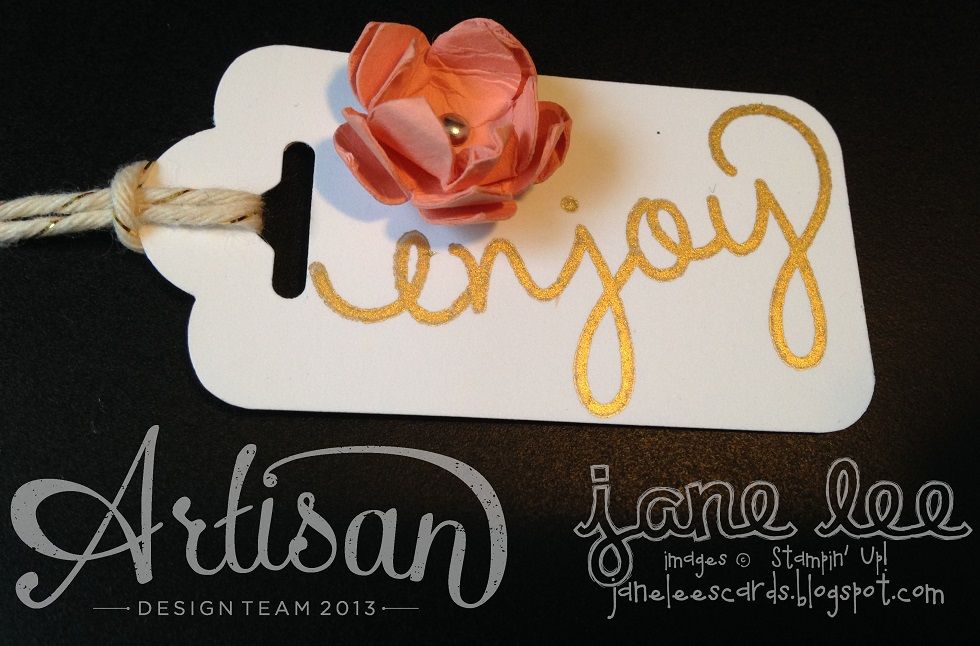
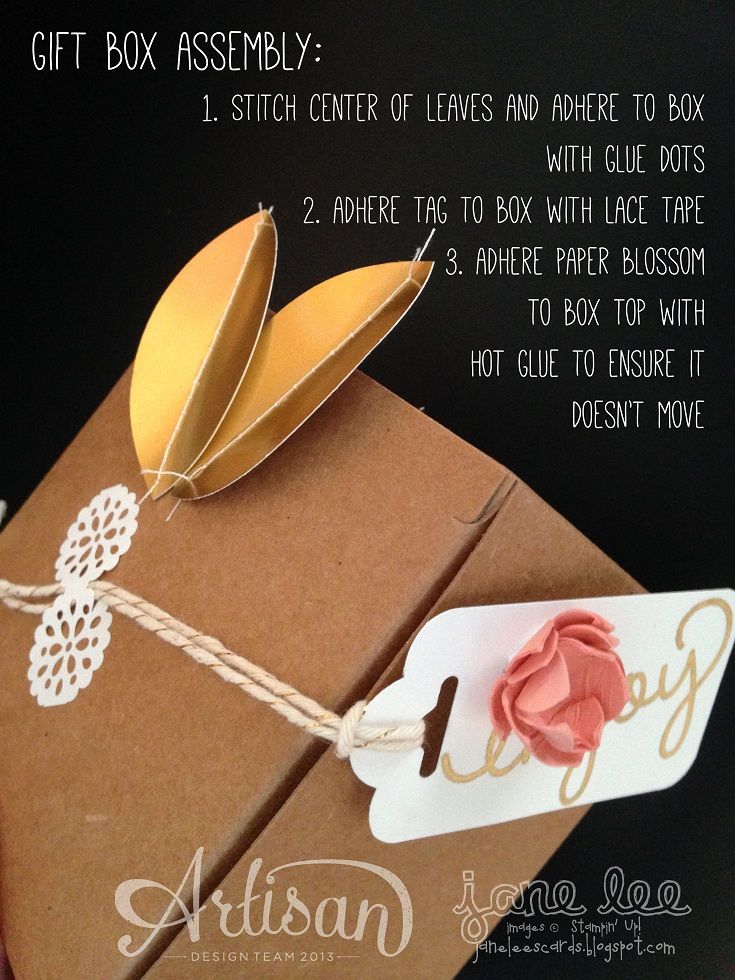
Are you wondering how I made my rad tag?  Are you pickin' up what I'm puttin' down?  I just trimmed the scallop tag punch.  See??
 photo 201403Artisan2dcopy_zps2a81e216.jpg  photo 201403Artisan2ccopy_zps64c3be32.jpg
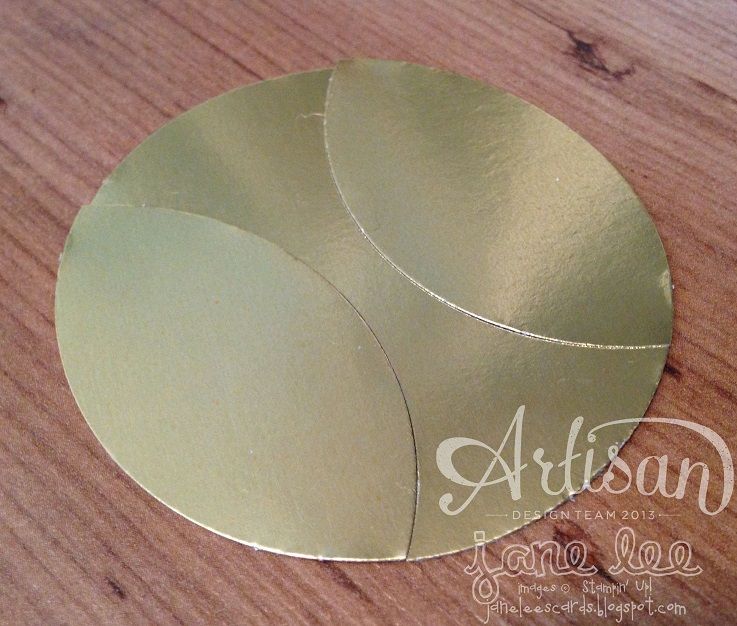
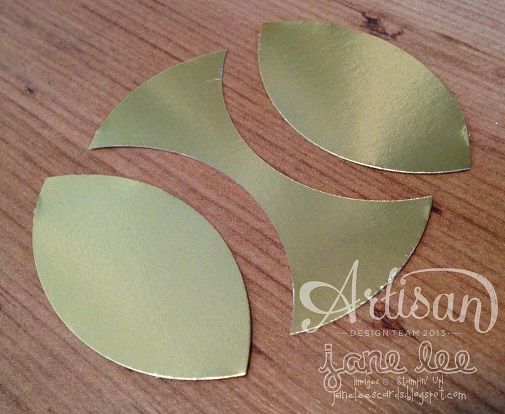
Eh??  See??  Nice little leaves made with the circle punch.  Ta da! 
 photo 201403Artisan2gcopy_zps670b9de7.jpg  photo 201403Artisan2hcopy_zps90dff87e.jpg
 photo 201403Artisan2ecopy_zps67e5cb00.jpg
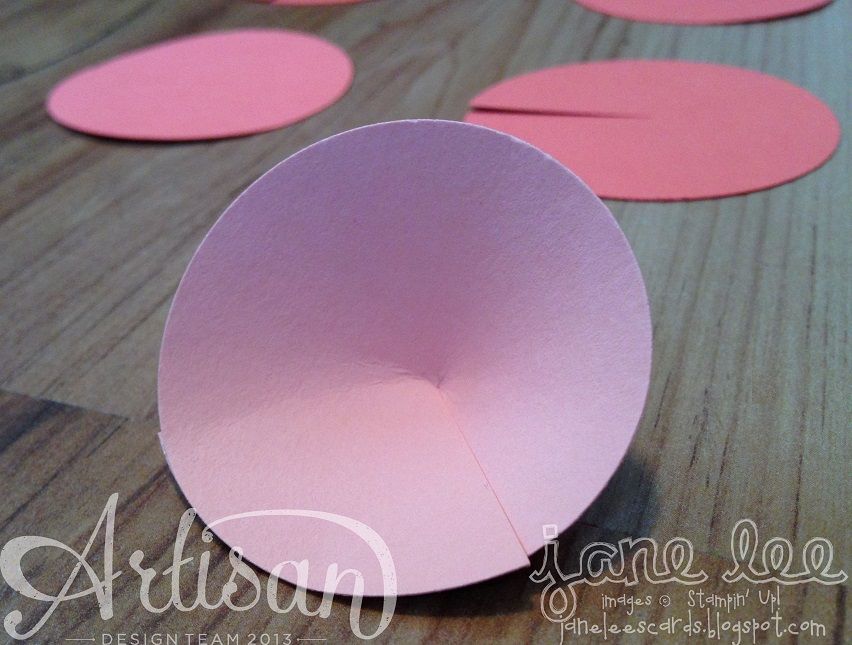
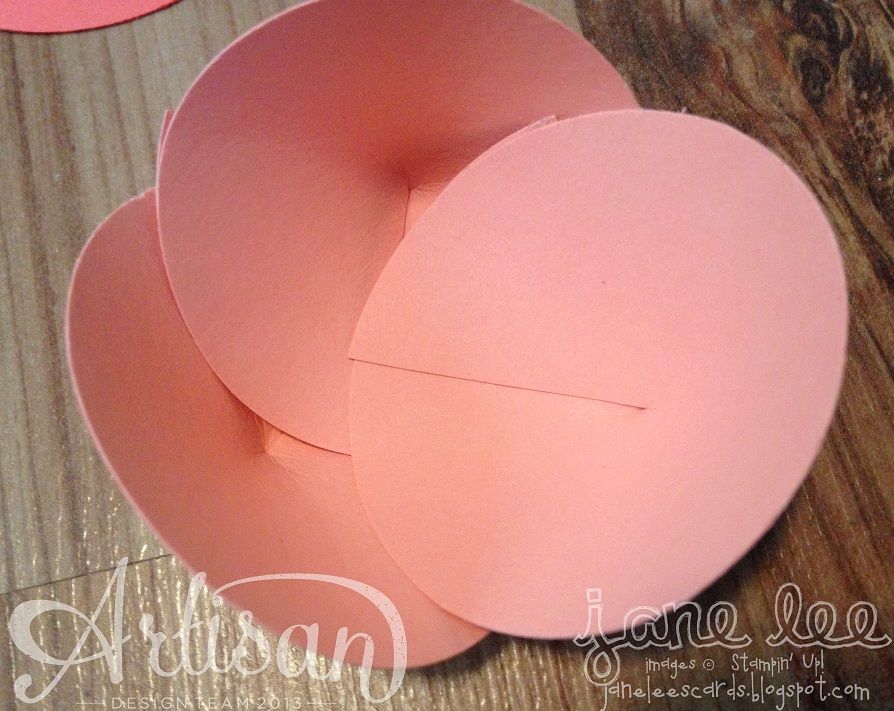
To make the petals of your blossom, cut a line to the center of your circle and then make a little cone with your circle.  The taller your cone, the taller your blossom.  Try all different heights until you find the one you like.
 photo 201403Artisan2icopy_zps096f0ac1.jpg
Start assembling your blossom in a circular pattern (with hot glue, of course).  Keep adding circles until you are satisfied with the size of your blossom.  I have smaller punched circles in the center than I do on the outer edges.
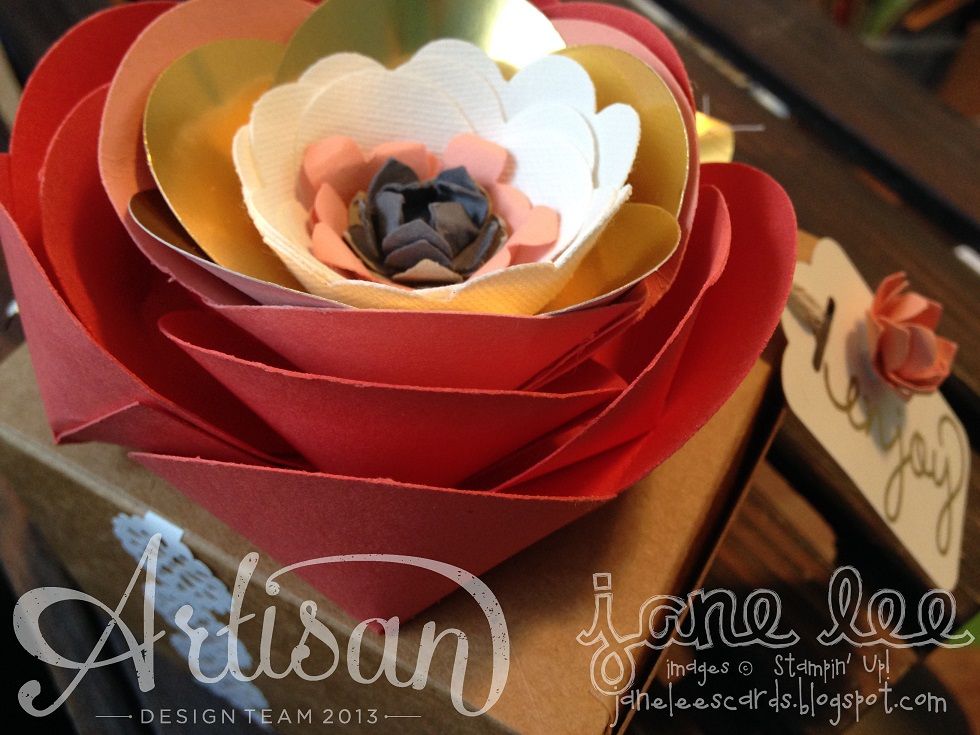
 photo 201403Artisan2jcopy_zpsb0119c53.jpg
 photo 201403Artisan2bacopy_zps53fc5340.jpg

I know.  I know.

Take it in slowly.

In person this gift is adorable, fancy, swanky, sweet, pretty, lovely, and chic.  Ok, can you tell I love it?  I just feel happy every time I look at it.  I look at it a lot.

A.
Lot.

I LOVE IT!! 

It's SO not me and yet I still feel like it's SO me.

That's deep.

Photobucket
Stamps: Simply Celebrate 
Ink:  Gold Encore! Ink Pad
Paper:  Calypso Coral, Crisp Cantaloupe, Basic Gray, Gold Foil, Whisper White
Accessories & Tools:  Canvas Creations, Delicate Details Lace Tape, Kraft Gift Boxes, Mini Brads, Paper Piercer, Gold Baker's Twine, 2-1/2" Circle Punch, 1-3/4" Circle Punch, Scalloped Tag Topper Punch, Petite Petals Punch, 3/16" Corner Punch, Big Shot, Spiral Flower Originals Die, Snips, Dimensionals
Other: Sewing Machine, White Thread, Hot Glue Gun
 
Order everything from my site {HERE}

Go back and visit my fantastic friend Erica's blog or move on to the next blog and visit Jeanna's.  I'm so lucky to be sandwiched between two of my great friends. 
  photo 02-Feb-Blog-Hop-NEXT-Button_zps8e64a22d.png

 Do you follow me on Pinterest?  You can.
Follow Me on Pinterest 


Did you order your Paper Pumpkin yet?
Full project kits delivered straight to your door.
What are you waiting for??
 photo PaperPumpkin_zps597f6607.jpg 
Follow on Bloglovin

Signature-stampsite photo Artisan-janeleestampinupnet_zps55ff3be1.png

2.11.2014

Quite the Pear | AWW

 photo 02-Feb-Blog-Hop-Button_zps62e6d63d.png
Welcome to the 2014 *February* edition of the Wednesday Artisan Blog Hop.  Check back every Wednesday to see new projects that all 10 of the Stampin' Up! Artisans have created. 

Follow Me on Pinterest
Follow the 2013 Artisan Design Team Pinterest Board:


I'm still grooving on the new Mini Catalog?  Are you??

GORGEOUS.

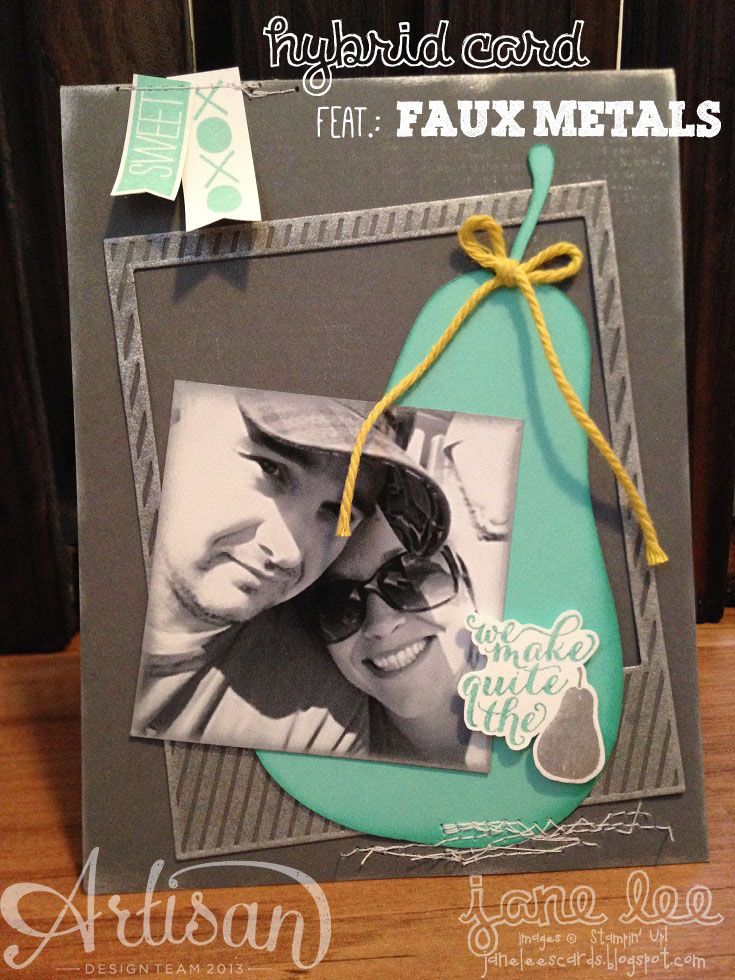
I am in LOVE with hybrid craft projects in any form.  How about a Scrapcard?

Yeah, I said it.

Scrapcard.
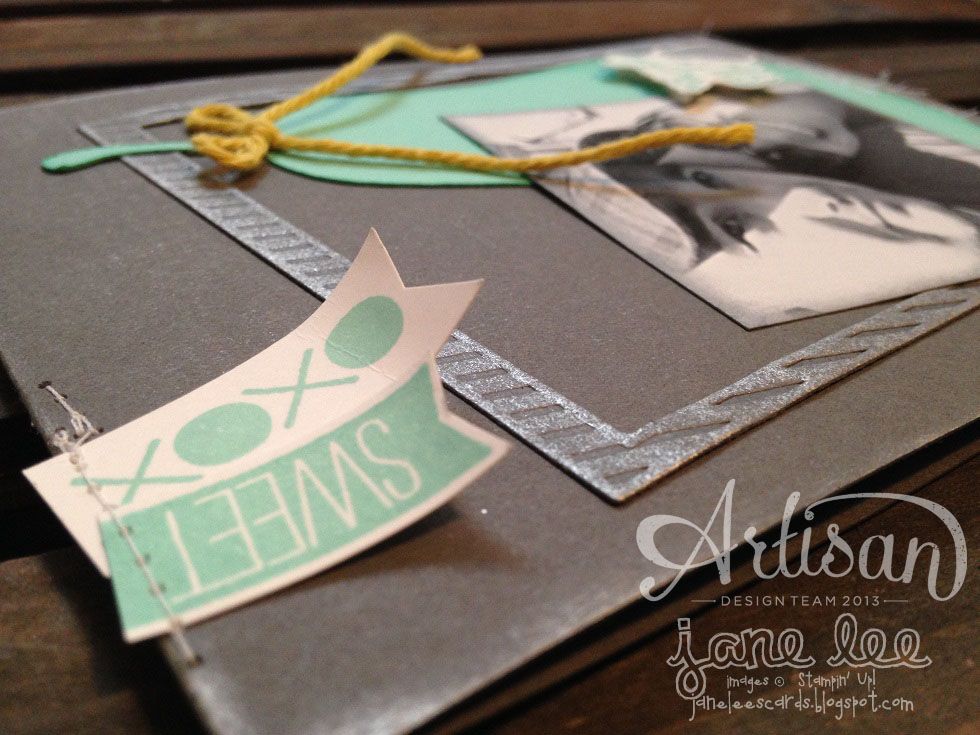
 photo 201402Artisan2acopy_zps4774aeaa.jpg

 photo 2014-02-Artisan-2h_zpsd7f20669.png

 photo 201402Artisan2bcopy_zps13c71066.jpg
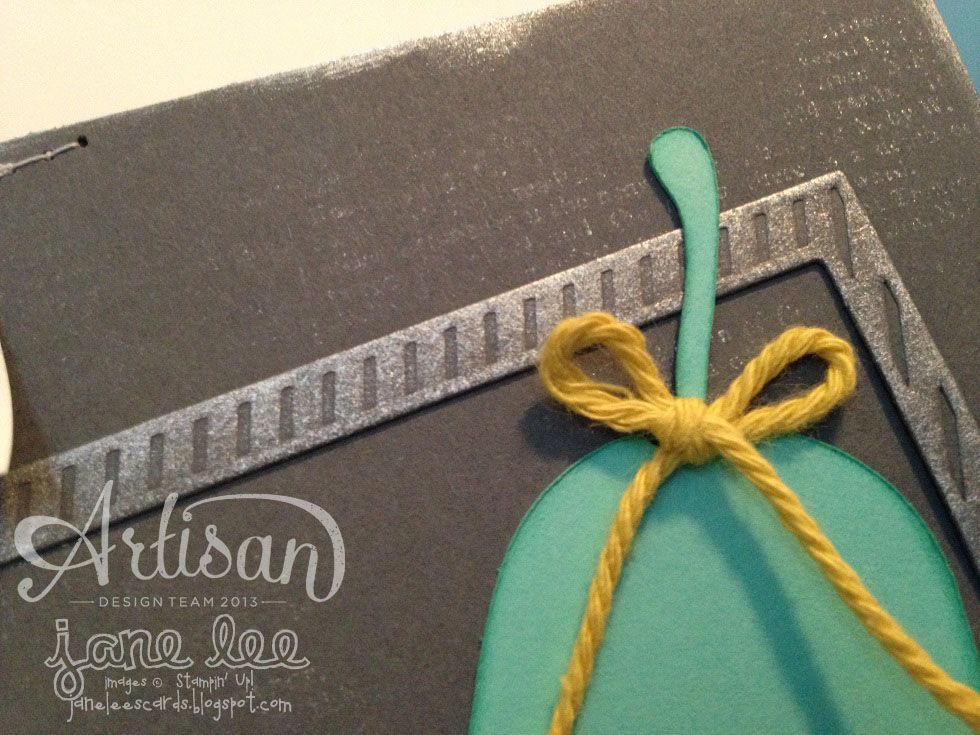
To get the look of the faux metal on the polaroid die cut, I cut the image out of Basic Gray cardstock and then used the direct ink to paper technique.
Lay your paper on some scratch paper, then lightly blot your inkpad on top of the paper.  Repeat the blotting until you get the desired coverage.
Don't press too hard with your ink pad.  Since it's like a sponge, if you press too hard, you'll get a lovely rectangle of ink instead of just on the raised/embossed images.
Practice if you're scared.
 photo 201402Artisan2ccopy_zpsd0c534ae.jpg
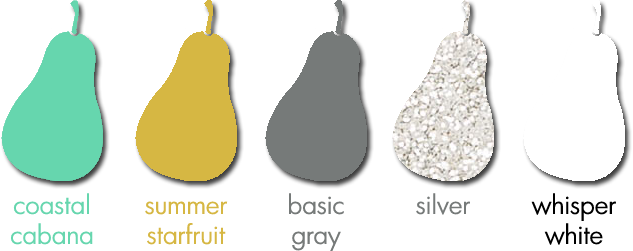
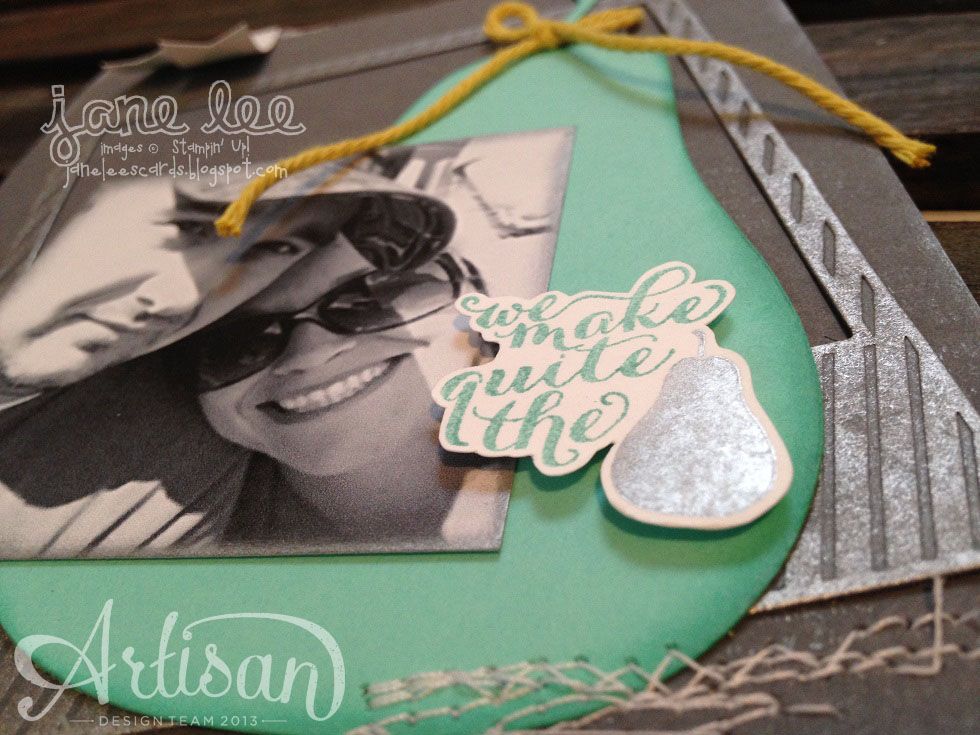
Where did I get my gorgeous Coastal Cabana pear?  Since there isn't a download available for the Quite the Pair images (yet) I had to get a little creative.  I took a screenshot of the stamped image, put it into some photo editing software I have, erased the words and background, then plopped it into my Silhouette Designer Edition software.  From there I could trace the pear and cut it out.
GENIUS?
I thought so too.
 photo 201402Artisan2dcopy_zps3e1d8e98.jpg
I love the look of distressed stamping.  The way I achieve this look is to only ink parts of the stamp so that it looks like the image is already faded and distressed.  See?
   photo 201402Artisan2fcopy_zps64a853f5.jpg  photo 201402Artisan2ecopy_zpsba5d44b3.jpg

Photobucket
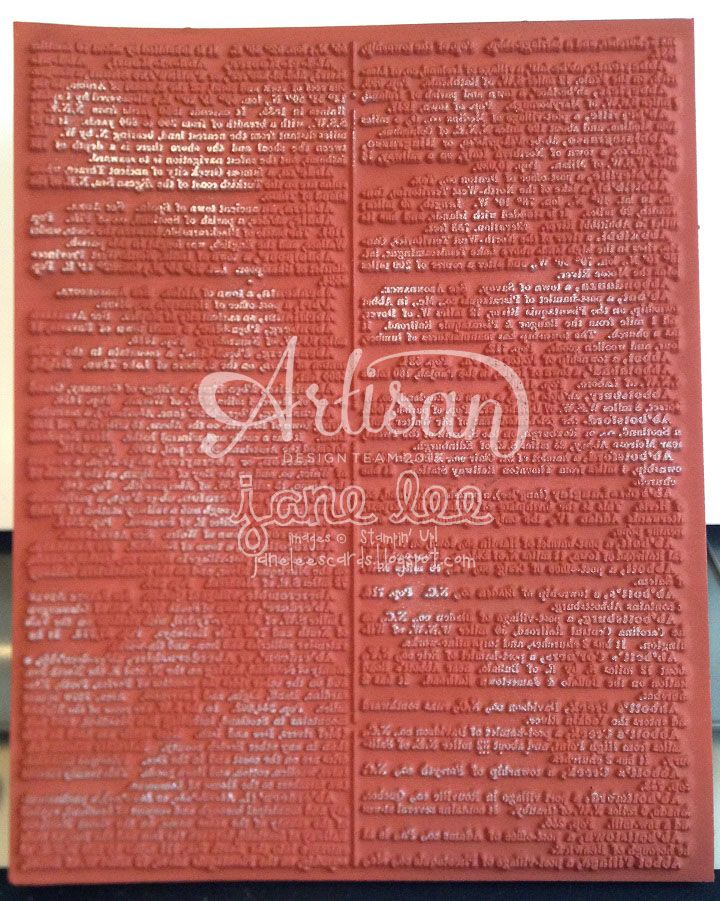
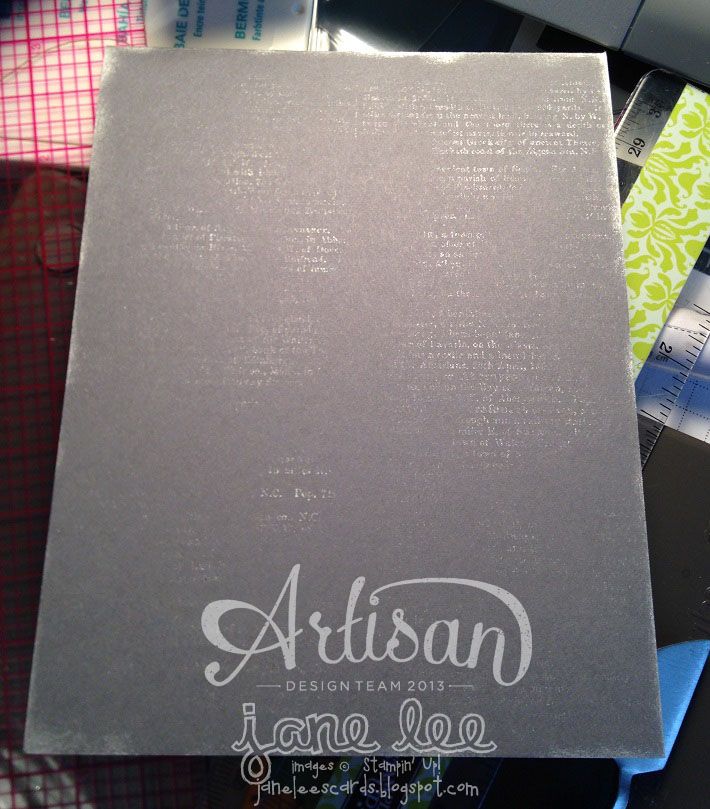
Stamps: Dictionary, Quite the Pear
Paper:  Basic Gray, Coastal Cabana, Whisper White
Ink: Coastal Cabana, Silver Encore Ink Pad, Coastal Cabana Stampin' Write Marker
Accessories & Tools:  Big Shot, On Film Framelits, Sweet Sorbet Accessory Pack (Thick Baker's Twine), Paper Snips, Dimensionals, Glue Dots, Snail Adhesive, Tombow Multipurpose Liquid Glue
Other: Sewing Machine, White Thread, E-Cutter
 
Order everything from my site {HERE}

Go back and visit my fantastic friend Erica's blog or move on to the next blog and visit Jeanna's.  I'm so lucky to be sandwiched between two of my great friends.

 photo 02-Feb-Blog-Hop-NEXT-Button_zps8e64a22d.png

 Do you follow me on Pinterest?  You can.
Follow Me on Pinterest 


Did you order your Paper Pumpkin yet?
Full project kits delivered straight to your door.
What are you waiting for??
 photo PaperPumpkin_zps597f6607.jpg 
Follow on Bloglovin

Signature-stampsite photo Artisan-janeleestampinupnet_zps55ff3be1.png

1.07.2014

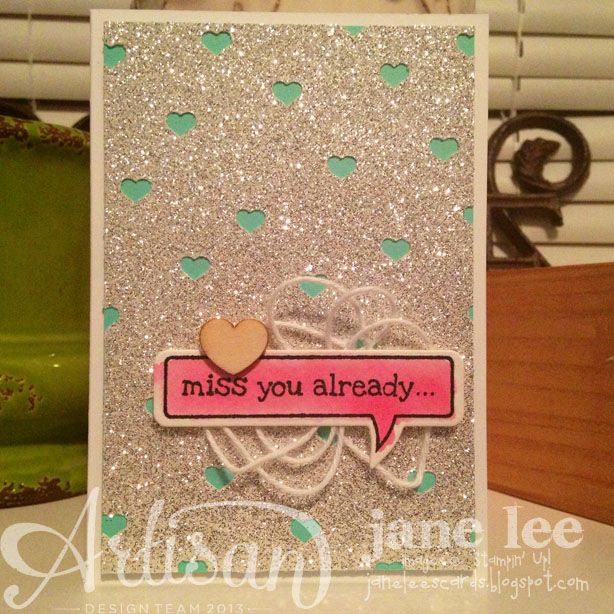
Artisan Wednesday WOW *i miss you already*


January Post photo 01-Jan-Blog-Hop-Button_zpsfd9519da.png
Welcome to the 2014 *January* edition of the Wednesday Artisan Blog Hop.  Check back every Wednesday to see new projects that all 10 of the Stampin' Up! Artisans have created. 

Follow Me on Pinterest
Follow the 2013 Artisan Design Team Pinterest Board:


Holla!!  It's January.  I feel like time is going SO fast!!  It'll be summer before we know it!  Anyway...  Are you loving the new Mini Catalog?

GORGEOUS.

Hi.  Hello.  I am in love with the new wooden embellishments AND the word bubble framelits.
L.O.V.E.

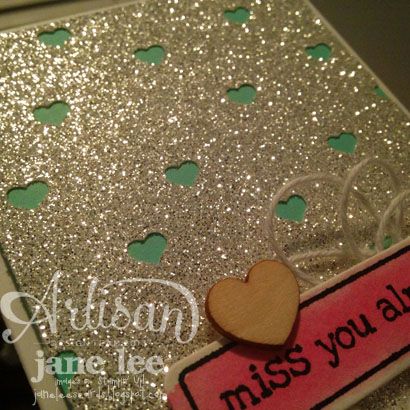
 photo 201401Artisan1acopy_zps31a5aefb.jpg 
   photo 201401Artisan1bcopy_zps823476cd.jpg
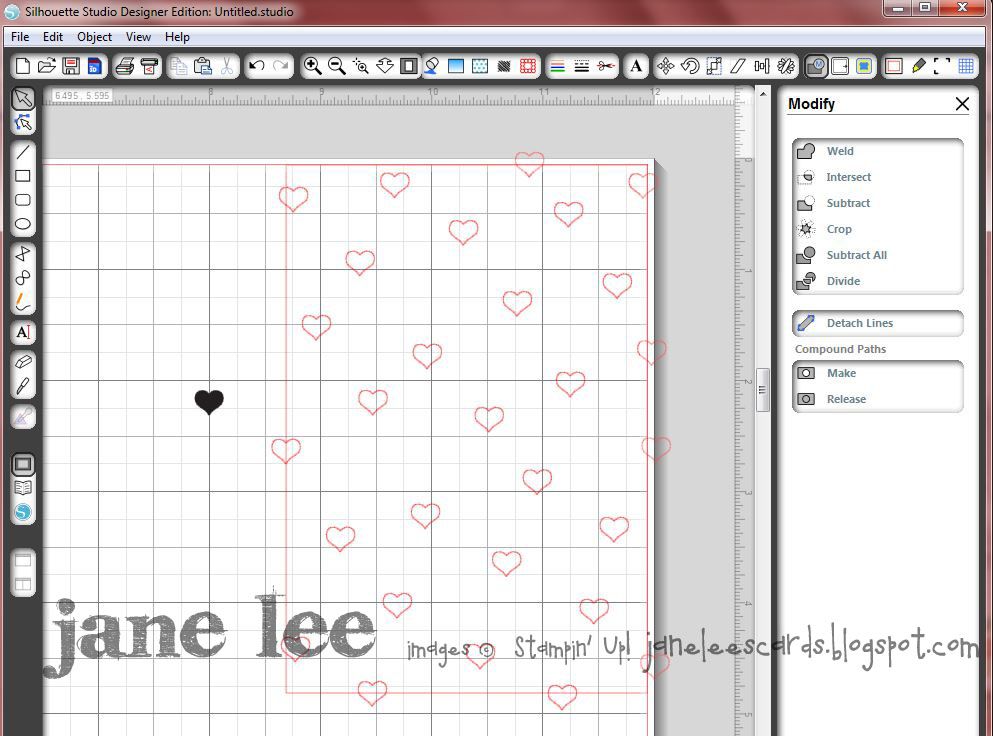
I created these adorable hearts using my Silhouette Cameo.  Here is how you can create the same thing:
  1. Create a rectangle that will be the size you'd like your top layer to be cut.  Mine is 3.25" x 4.75".
  2. Import the heart from the Bookstagram MDS download into your program.
  3. Resize your heart to be .25" wide.
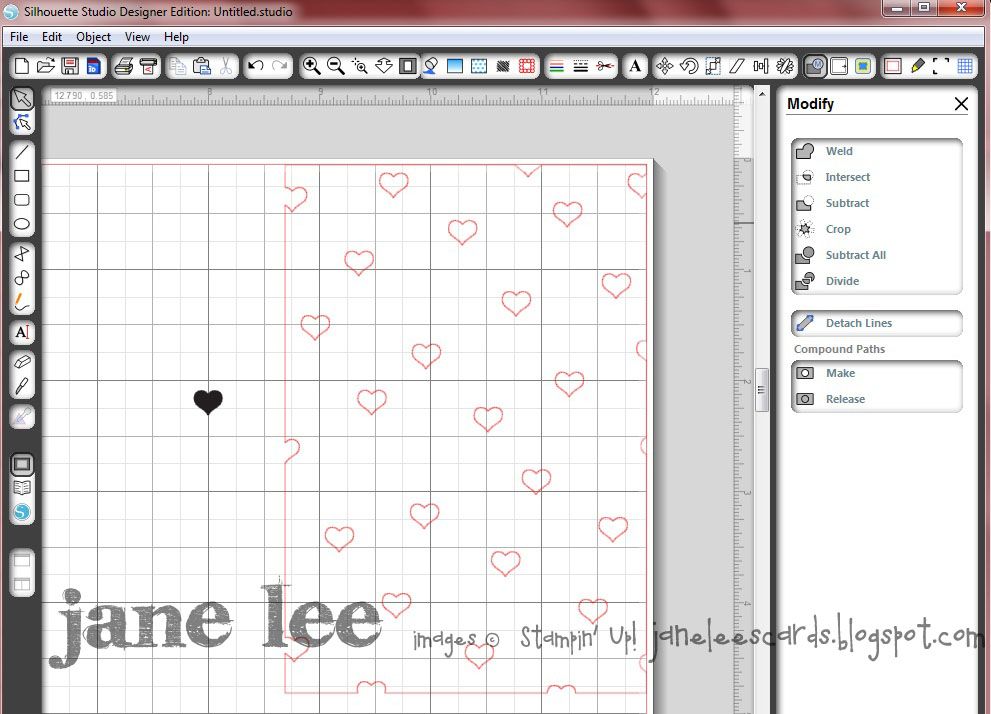
  4. Open your trace window  photo 01-14SubtractionTuted_zpsaedafcc0.jpg
  5. Click Select Trace Area
  6. Then click Trace Outer Edge
    You should have a red outline around your heart.
    You can move your black heart out of the way.
  7.  Click the red outline of the heart and create several duplicates.  I just placed them randomly all over the square.  I made sure to have some hearts go outside of the square too.A photo 01-14SubtractionTuteacopy_zps3ac724a7.jpg
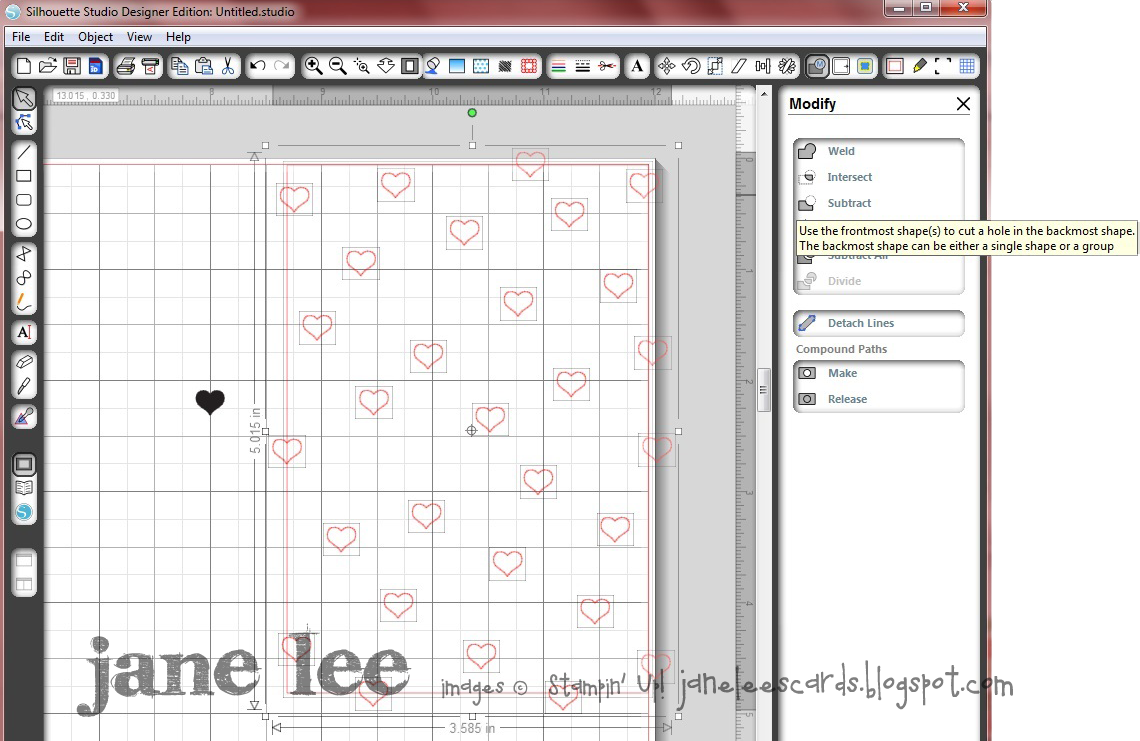
  8. Click the Select arrow on your toolbar.
  9. Draw a square around your rectangle with hearts in it.
  10. Your rectangle and all the hearts should have outlines around them.B photo 01-14-Subtraction-Tute-b_zps0f2e65a7.png
  11. Click the Open the Modify Window.
  12. Click the Subtract option.
  13. Your screen should look like this:C photo 01-14SubtractionTuteccopy_zps44960c5b.jpg
  14. Now you can cut your project.
If you saw this post earlier you're probably thinking,"Wasn't there some twine on this card that looked like a guppy fish?"  Yes, there was, but I had to fix it.  I just couldn't stand it. Yay!

Are you wondering what I did with all the cute little hearts that were cut out?  They're on the inside of the card, of course.

Photobucket

MDS: Bookstagram - Heart
Stamps:  Just Sayin'
Ink:  Melon Mambo, Jet Black StazOn
Paper:  Whisper White, Coastal Cabana, Watercolor Paper
Accessories & Tools:  Aqua Painter, Big Shot, Word Bubbles Framelits, White Baker's Twine, Wooden Elements Embellishments, Dimensionals, SNAIL Adhesive, Glue Dots
Other: Ecutter
Order everything from my site {HERE}

Go back and visit my fantastic friend Erica's blog or move on to the next blog and visit Jeanna's.  I'm so lucky to be sandwiched between two of my great friends.
January Next photo 01-Jan-Blog-Hop-NEXT-Button_zps1d716656.png
 Do you follow me on Pinterest?  You can.
Follow Me on Pinterest 


Did you order your Paper Pumpkin yet?
Full project kits delivered straight to your door.
What are you waiting for??
 photo PaperPumpkin_zps597f6607.jpg 

Signature-stampsite photo Artisan-janeleestampinupnet_zps55ff3be1.png