Welcome to the 2013 *September* edition of the Wednesday Artisan Blog Hop. Check back every Wednesday to see new projects that all 10 of the Stampin' Up! Artisans have created.
Follow the 2013 Artisan Design Team Pinterest Board:
I promise you won't want to miss a single project!!
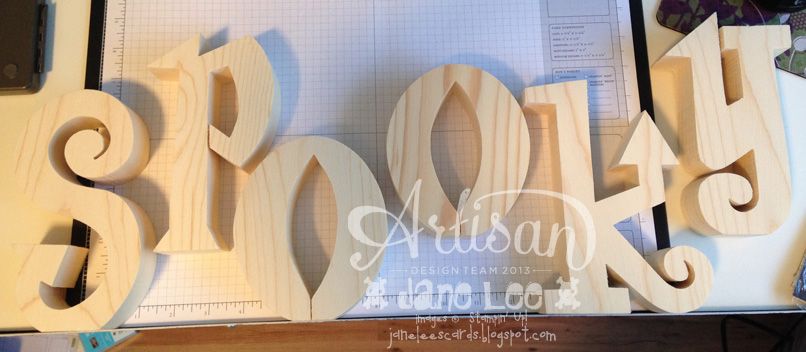
Have you ever heard of The Wood Connection? It's a great store in Utah that sells custom cut wood designs. I {heart} this store SO much!! While browsing their Halloween woodcuts, I found this gem:
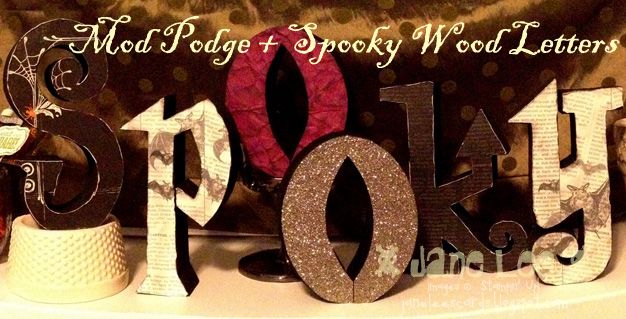
My brain just started going CRAZY with all the ways I thought about decorating the wood. In the end I decided to keep it somewhat simple and classy so that when I add it to my Halloween decorations, it will stand the *trends* of time.
Each letter is about 7" tall.
Tell me what you think.
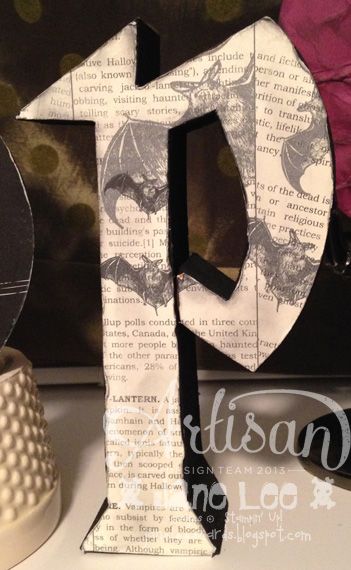
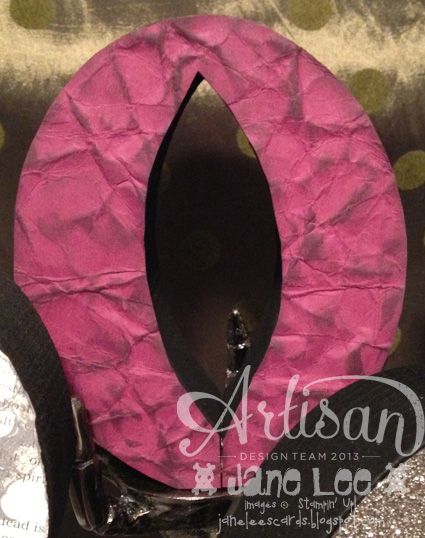
 When you distress the edges of the paper with a Bone Folder it gives just a little extra detail to give the paper some dimension on the wood.
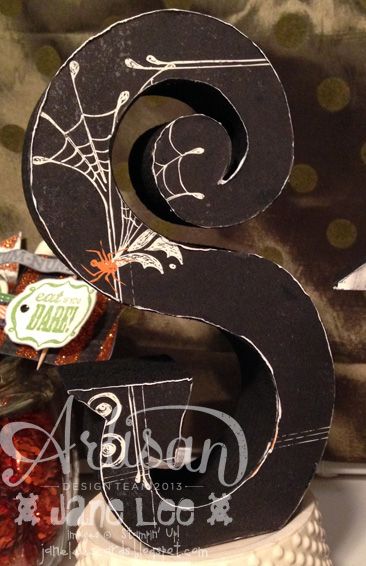
I used the sponge dauber on the lighter colored DSP and the Razzleberry cardstock. When you distress the black DSP the edges turn white so you don't have to do anything extra.
Have you ever heard of The Wood Connection? It's a great store in Utah that sells custom cut wood designs. I {heart} this store SO much!! While browsing their Halloween woodcuts, I found this gem:
My brain just started going CRAZY with all the ways I thought about decorating the wood. In the end I decided to keep it somewhat simple and classy so that when I add it to my Halloween decorations, it will stand the *trends* of time.
Each letter is about 7" tall.
Tell me what you think.
 When you distress the edges of the paper with a Bone Folder it gives just a little extra detail to give the paper some dimension on the wood.
I used the sponge dauber on the lighter colored DSP and the Razzleberry cardstock. When you distress the black DSP the edges turn white so you don't have to do anything extra.
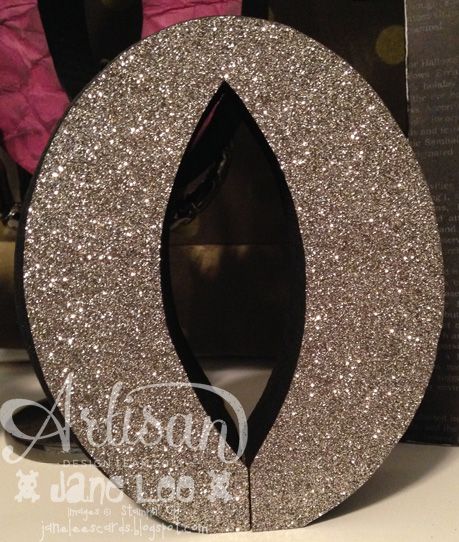
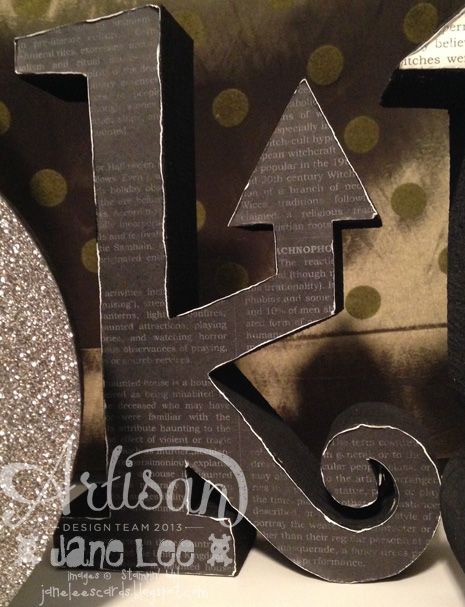
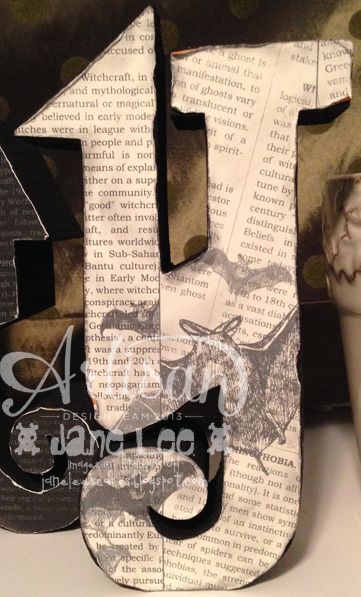
I applied Mod Podge to each letter and then applied the cut DSP to the letter.
Smooth down the middle of each letter with your Bone Folder.
I wasn't concerned with having the edges of each letter lay completely flat because I wanted the distressed edges to curl and pop off the wood letters.
Paper: Rich Razzleberry, Witches' Brew DSP, Silver Glimmer Paper
Accessories and Tools: Bone Folder, Sponge Daubers, Paper Snips, Sticky Strip, Spritzer
Other: SPOOKY Woodcuts, Mod Podge, Black Acrylic Paint, Hobby Blade, Alcohol (to help your spritzed ink dry on glimmer paper)
Order everything from my site {HERE}
You can order some woodcuts online {here}. If you'd like the *SPOOKY* letters (not available online), I could mail them to you. Contact me.
You can order some woodcuts online {here}. If you'd like the *SPOOKY* letters (not available online), I could mail them to you. Contact me.
Go back and visit my fantastic friend Erica's blog or move on to the next blog and visit Jeanna's. I'm so lucky to be sandwiched between two of my great friends.
Do you follow me on Pinterest? You can.
Did you order your Paper Pumpkin yet?
Full project kits delivered straight to your door.
What are you waiting for??


OMG!! You didn't! I LOOOOVE these!!!
ReplyDeleteoh my this is JUST FABULOUS!! love it love it love it - wish I had one!!
ReplyDeleteLisa, the wood set was only $13.95. I'd be happy to mail you a set (+ tax and shipping, of course.) PayPal?? Email me.
DeleteThese came out fabulous!
ReplyDeleteWell done Jane! Definitely worth the wait!
ReplyDeleteTotally fun!
ReplyDeleteTotally LOVE!
ReplyDelete